Xin chào! Cảm ơn bạn
đã ghé thăm Blog của tôi.
Xin chào! Cảm ơn bạn
đã ghé thăm Blog của tôi.
Ở bài viết trước mình đã Hướng dẫn cài đặt Zimbra Mail trên Ubuntu 20.04 , và để tiếp tục Series về Zimbra Mail Server thì ở bài viết này mình sẽ hướng dẫn các bạn cài đặt chứng chỉ SSL miễn phí cho Zimbra Mail Server.
su zimbra
zmproxyctl stop
zmmailboxdctl stop
exit

apt-get update
apt-get install snapd
snap --version

snap install --classic certbot
ln -s /snap/bin/certbot /usr/bin/certbot

Ở đây mình có Hostname là mail.damtrungkien.info
certbot certonly --standalone
Tiếp đó bạn nhập các thông tin cần thiết sau
root@mail:~# certbot certonly --standalone
Saving debug log to /var/log/letsencrypt/letsencrypt.log
Enter email address (used for urgent renewal and security notices)
 (Enter 'c' to cancel): admin@         ### Nhập email của bạn

- - - - - - - - - - - - - - - - - - - - - - - - - - - - - - - - - - - - - - - -
Please read the Terms of Service at
https://letsencrypt.org/documents/LE-SA-v1.2-November-15-2017.pdf. You must
agree in order to register with the ACME server. Do you agree?
- - - - - - - - - - - - - - - - - - - - - - - - - - - - - - - - - - - - - - - -
(Y)es/(N)o: Y          ### Nhấn Y để đồng ý cài đặt

- - - - - - - - - - - - - - - - - - - - - - - - - - - - - - - - - - - - - - - -
Would you be willing, once your first certificate is successfully issued, to
share your email address with the Electronic Frontier Foundation, a founding
partner of the Let's Encrypt project and the non-profit organization that
develops Certbot? We'd like to send you email about our work encrypting the web,
EFF news, campaigns, and ways to support digital freedom.
- - - - - - - - - - - - - - - - - - - - - - - - - - - - - - - - - - - - - - - -
(Y)es/(N)o: N     ### Nhận thông báo khác từ Let's Encrypt, chọn N
Account registered.
Please enter the domain name(s) you would like on your certificate (comma and/or
space separated) (Enter 'c' to cancel): mail.damtrungkien.info  ### Nhập Domain cần cài đặt SSL
Requesting a certificate for mail.damtrungkien.info

Successfully received certificate.
Certificate is saved at: /etc/letsencrypt/live/mail.damtrungkien.info/fullchain.pem
Key is saved at:         /etc/letsencrypt/live/mail.damtrungkien.info/privkey.pem
This certificate expires on 2022-09-10.
These files will be updated when the certificate renews.
Certbot has set up a scheduled task to automatically renew this certificate in the background.

- - - - - - - - - - - - - - - - - - - - - - - - - - - - - - - - - - - - - - - -
If you like Certbot, please consider supporting our work by:
 * Donating to ISRG / Let's Encrypt:   https://letsencrypt.org/donate
 * Donating to EFF:                    https://eff.org/donate-le
- - - - - - - - - - - - - - - - - - - - - - - - - - - - - - - - - - - - - - - -
Như nội dung bên trên là mình đã cài đặt thành công chứng chỉ SSL và chứng chỉ được lưu tại đường dẫn: /etc/letsencrypt/live/mail.damtrungkien.info/
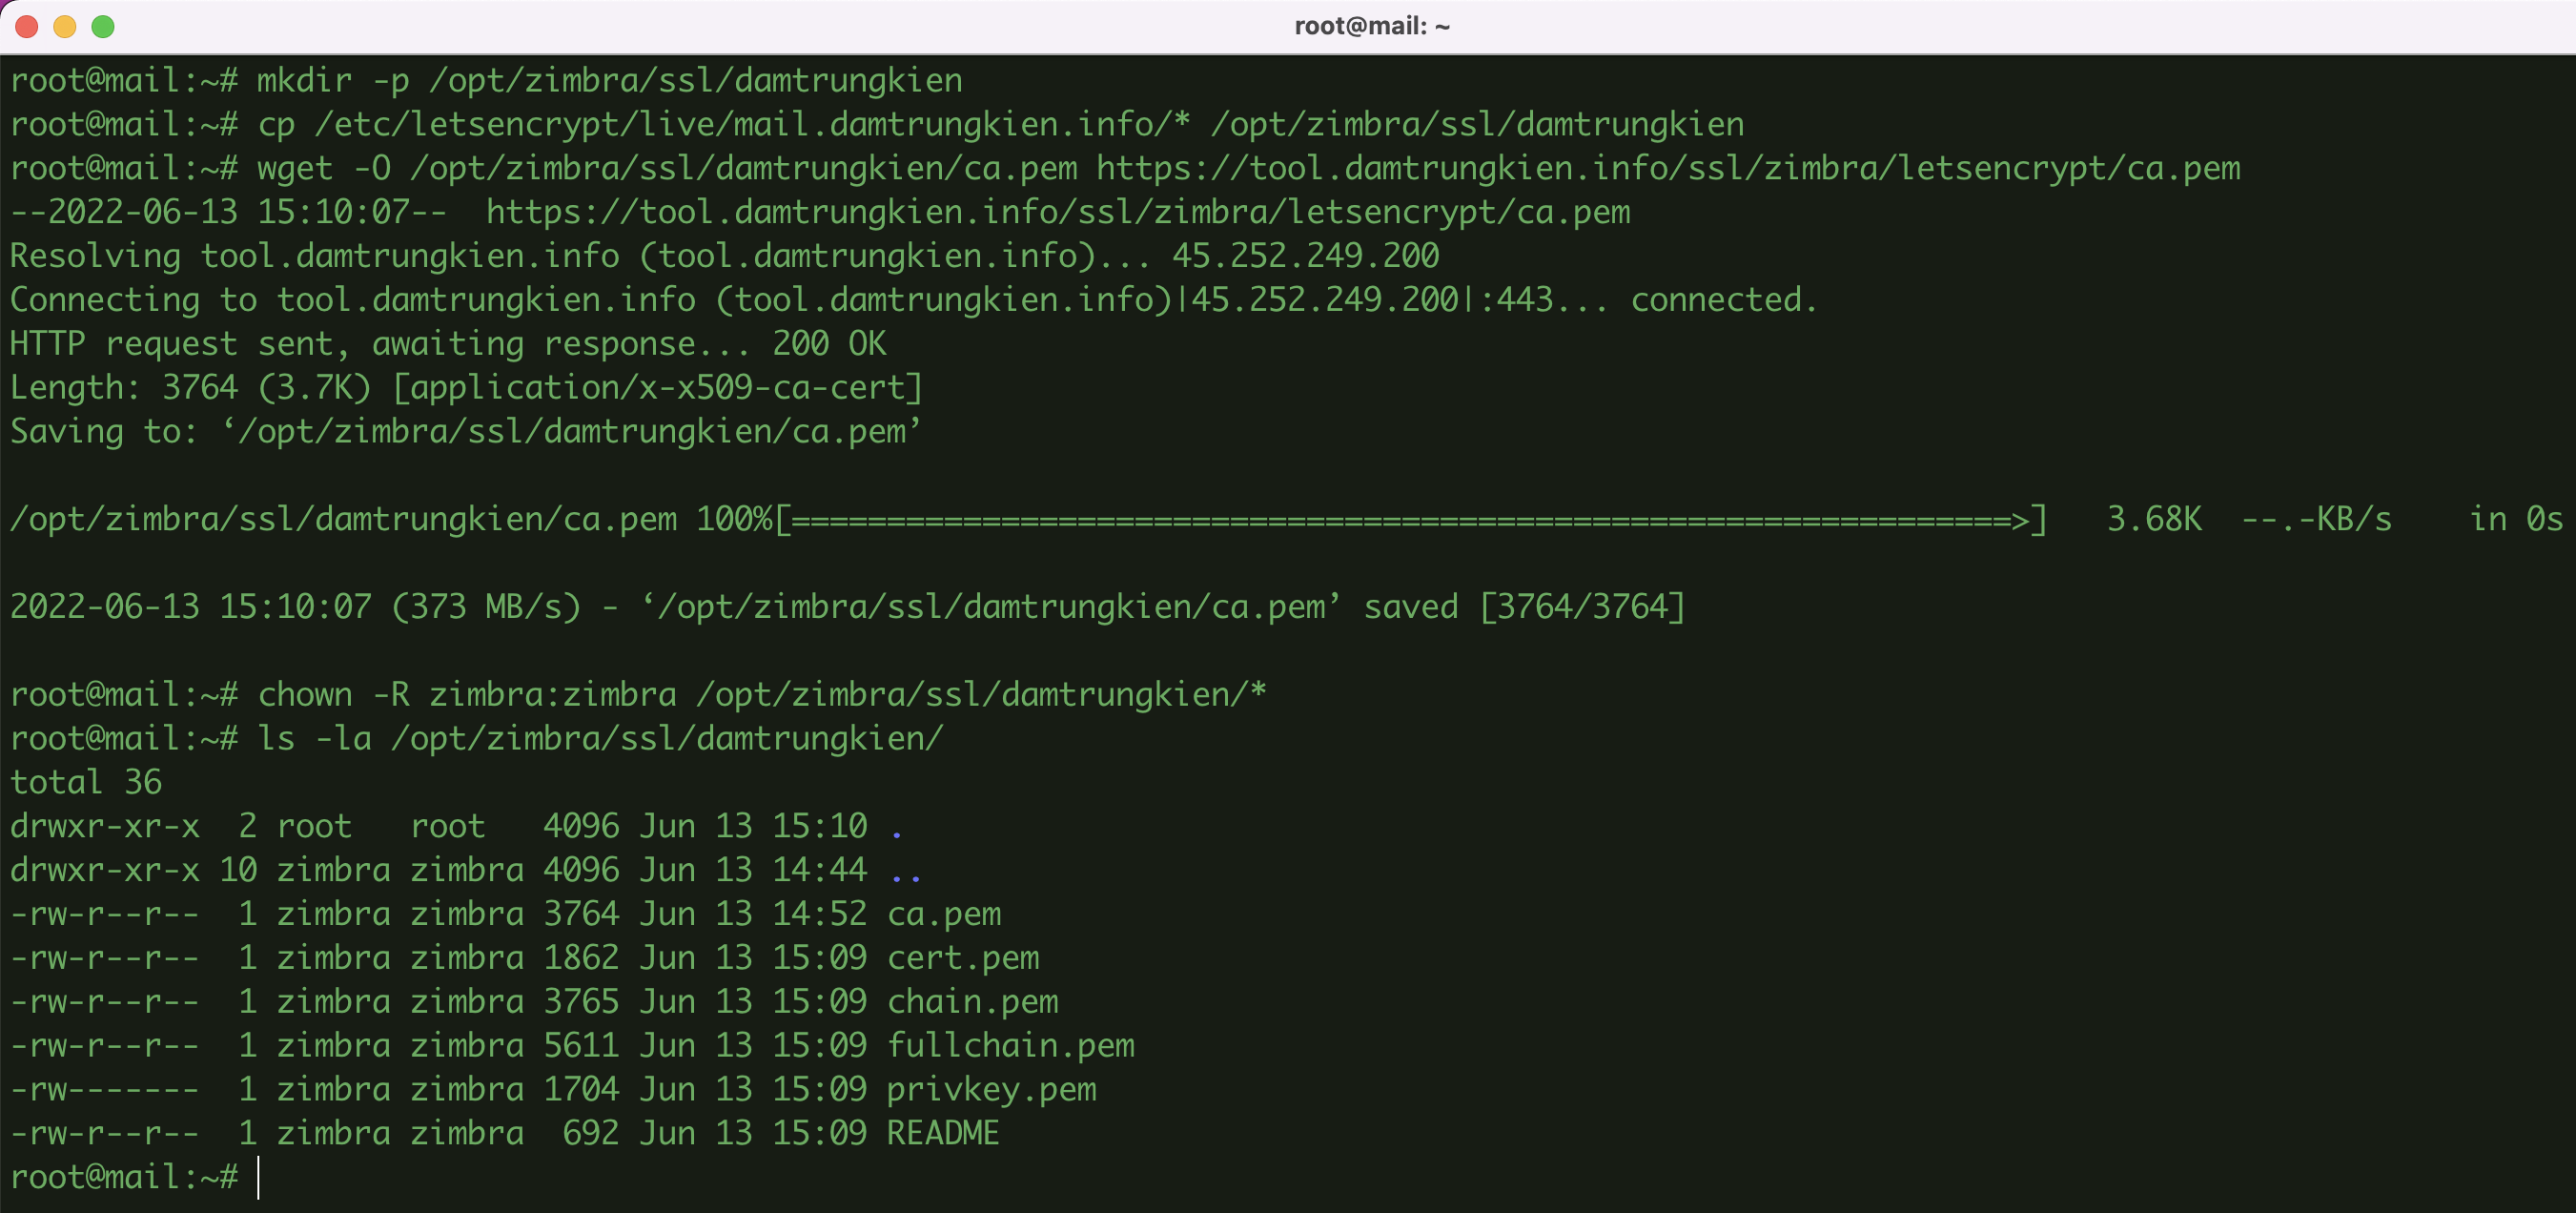
Trước khi thực hiện Verify, bạn cần tạo thư mục riêng và move các chứng chỉ đó sang để dễ quản lý hơn. Ngoài ra bạn hãy Download thêm File ca.pem mình đã thêm sẵn để Verify chứng chỉ.
mkdir -p /opt/zimbra/ssl/damtrungkien
cp /etc/letsencrypt/live/mail.damtrungkien.info/* /opt/zimbra/ssl/damtrungkien
wget -O /opt/zimbra/ssl/damtrungkien/ca.pem https://tool.damtrungkien.info/ssl/zimbra/letsencrypt/ca.pem
chown -R zimbra:zimbra /opt/zimbra/ssl/damtrungkien/*
ls -la /opt/zimbra/ssl/damtrungkien/

Bây giờ hãy tiến hành Verify các chứng chỉ với cú pháp: /opt/zimbra/bin/zmcertmgr verifycrt comm privkey crt ca
cd /opt/zimbra/ssl/damtrungkien/
su zimbra
/opt/zimbra/bin/zmcertmgr verifycrt comm privkey.pem cert.pem ca.pem

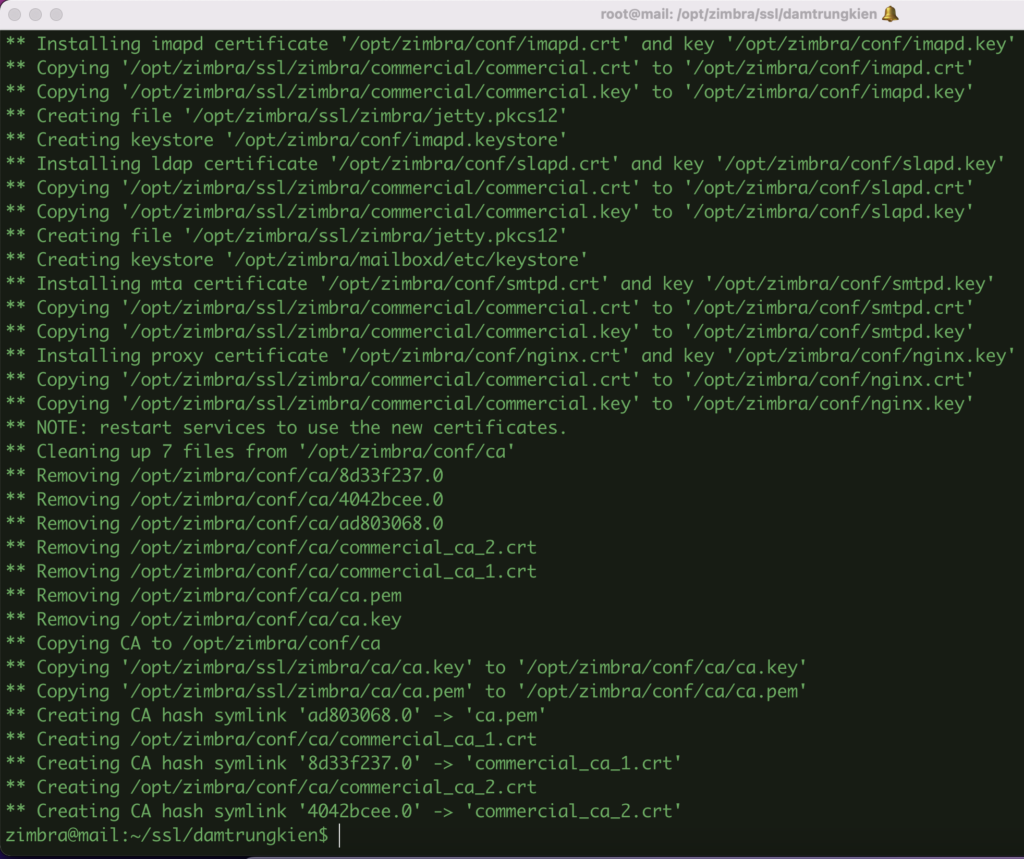
Trước khi Deploy SSL, bạn cần move file privkey.pem vào đường dẫn mà Zimbra quy định. Và sau đó chạy lệnh Deploy
cp /opt/zimbra/ssl/damtrungkien/privkey.pem /opt/zimbra/ssl/zimbra/commercial/commercial.key
/opt/zimbra/bin/zmcertmgr deploycrt comm cert.pem ca.pem

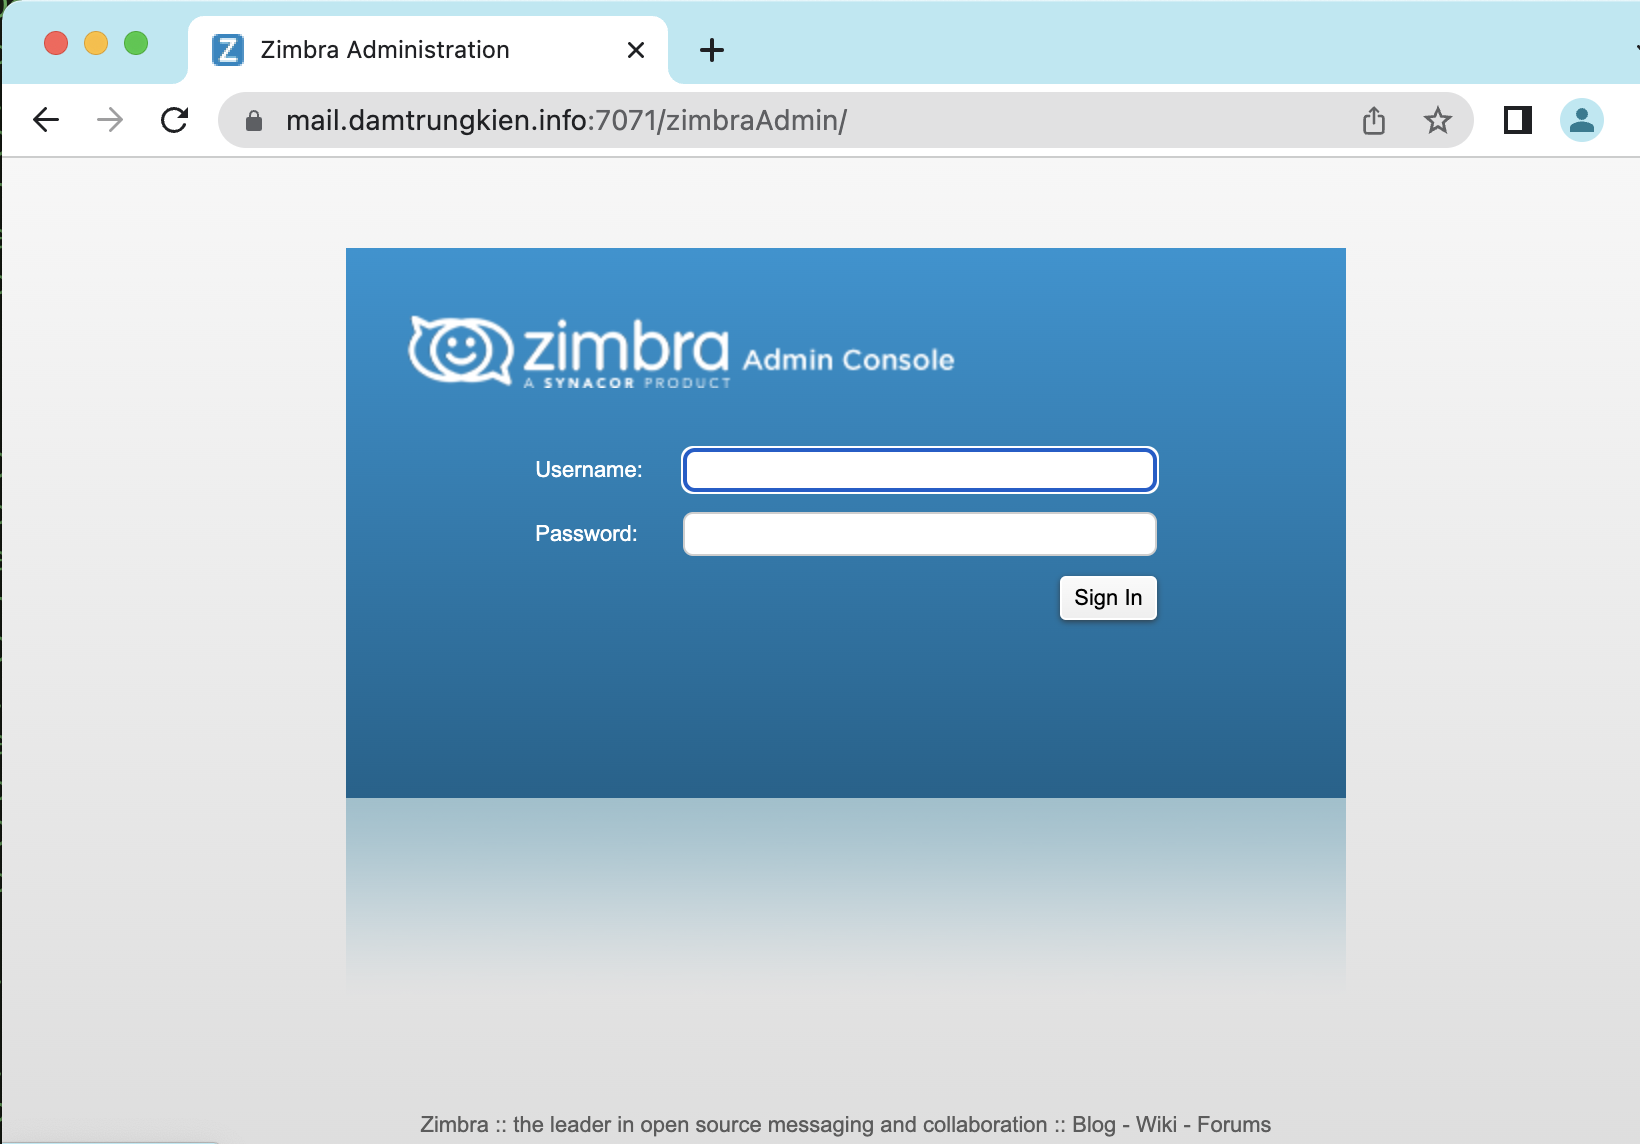
Bây giờ hãy khởi động lại Zimbra và kiểm tra thành quả.
zmcontrol restart

Chúc các bạn thực hiện thành công.!
Chào mọi người, mình là Kiên – hiện đang công tác tại Phòng Kỹ thuật AZDIGI. Trong quá trình làm việc mình có cơ hội được tiếp xúc với khá nhiều các vấn đề liên quan đến Website/Hosting/VPS/Server, do đó mình viết lại các hướng dẫn này nhằm chia sẻ kiến thức, cũng như tạo một môi trường để chúng ta giao lưu và học hỏi lẫn nhau.


2026 - Website được phát triển nội dung bởi Đàm Trung Kiên
Hãy để lại thông tin của bạn. Đội ngũ chuyên gia của chúng tôi sẽ trực tiếp phân tích nhu cầu và tư vấn giải pháp công nghệ phù hợp, tối ưu hiệu quả cho công việc của bạn hoàn toàn miễn phí.
Tìm kiếm bài viết...