Xin chào! Cảm ơn bạn
đã ghé thăm Blog của tôi.
Xin chào! Cảm ơn bạn
đã ghé thăm Blog của tôi.
LAMP stack là một bộ software mã nguồn mở được sử dụng để phát triển ứng dụng web. Để một ứng dụng web hoạt động trơn tru, nó phải bao gồm hệ điều hành, web server, database và ngôn ngữ lập trình. Tên LAMP là từ viết tắt của các program sau:
Ở bài viết này mình sẽ hướng dẫn các bạn cài đặt LAMP Stack lên máy chủ buntu 22.04. Chi tiết các bước mời các bạn xem tiếp phần Hướng dẫn cài đặt bên dưới.
Đầu tiên hãy SSH vào máy chủ của bạn với quyền Root và thực hiện cài đặt các dịch vụ sau
sudo apt update -y && apt upgrade -y
Vì Apache có sẵn trong kho lưu trữ của Ubuntu 22.04 , nên bạn chỉ cần cài đặt bằng lệnh apt install.
sudo apt install -y apache2
systemctl start apache2      (Khởi động dịch vụ Apache)
systemctl stop apache2       (Dừng dịch vụ Apache)
systemctl reload apache2     (Tải lại dịch vụ Apache)
systemctl restart apache2    (Khởi động lại  dịch vụ Apache:)
systemctl enable apache2     (Thiết lập Apache khởi động cùng hệ thống)
systemctl disable apache2    (Vô hiệu hoá Apache khởi động cùng hệ thống )
systemctl status apache2     (Xem trạng thái dịch vụ Apache)
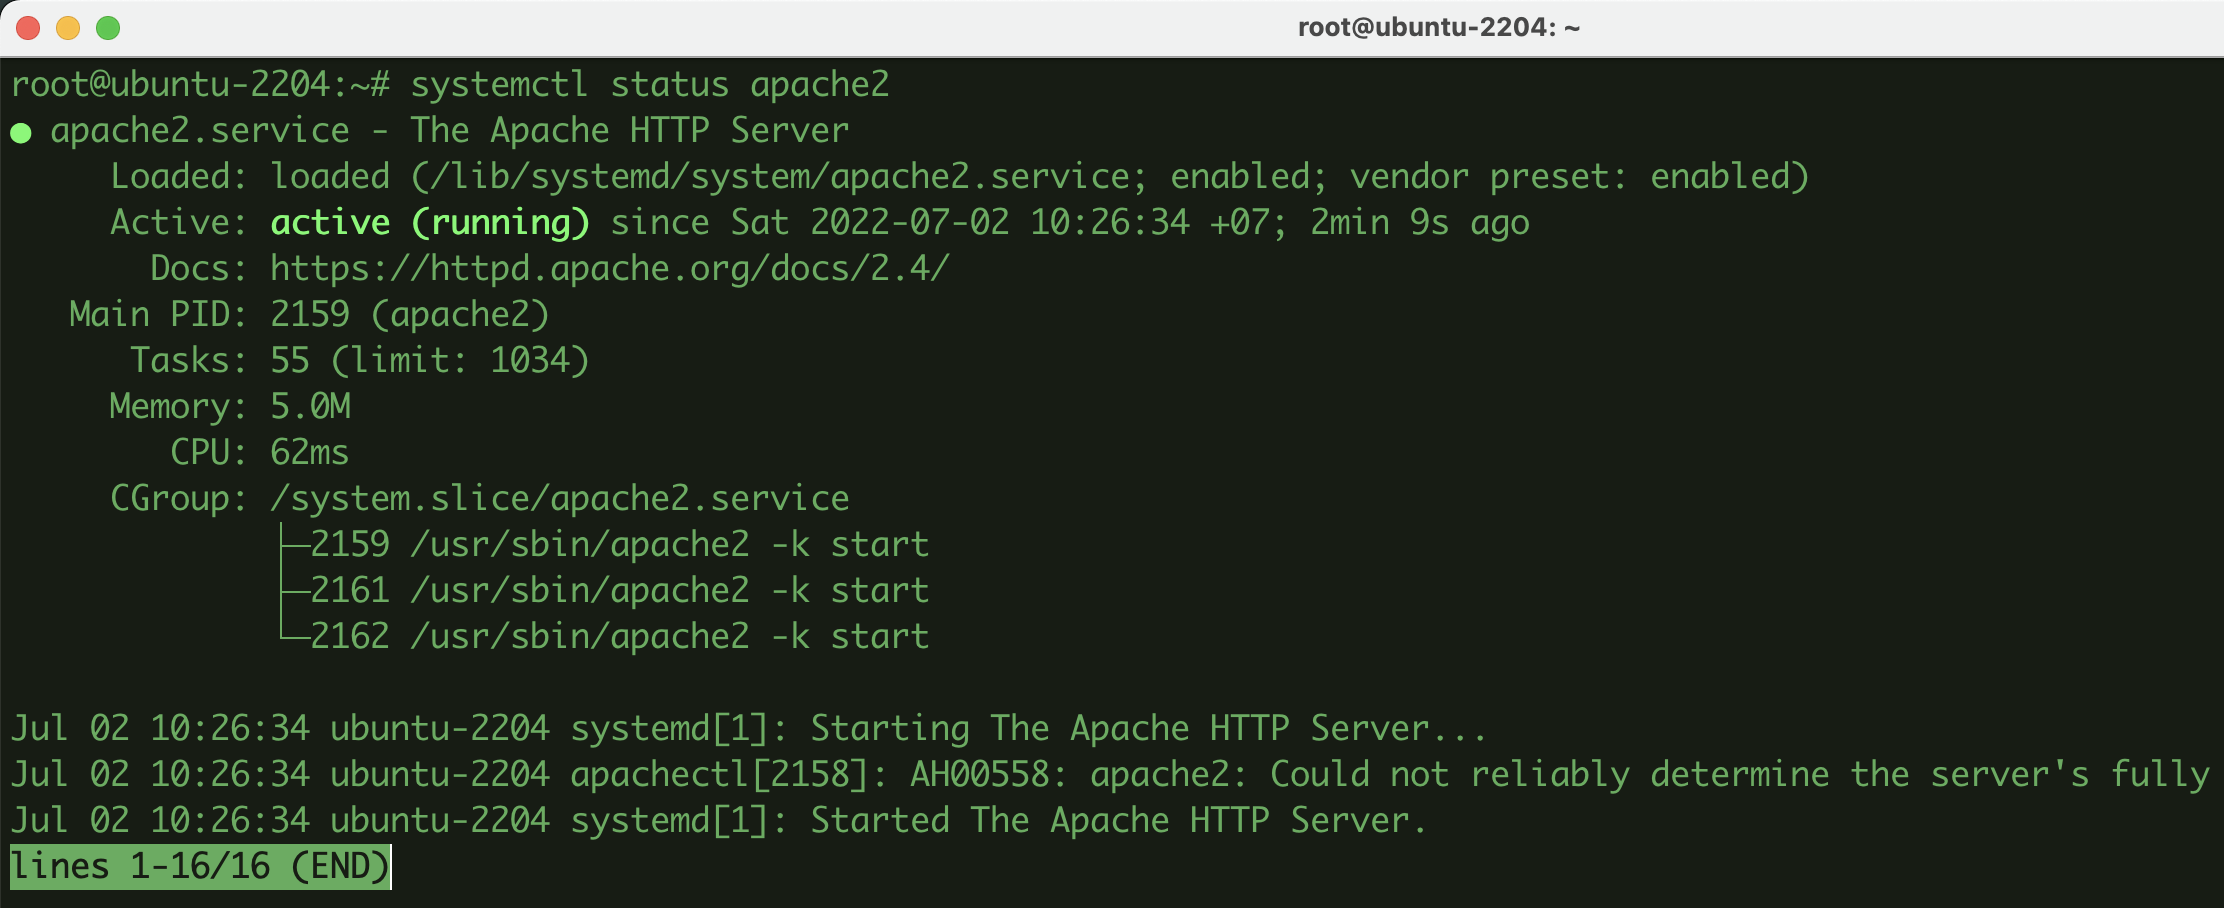
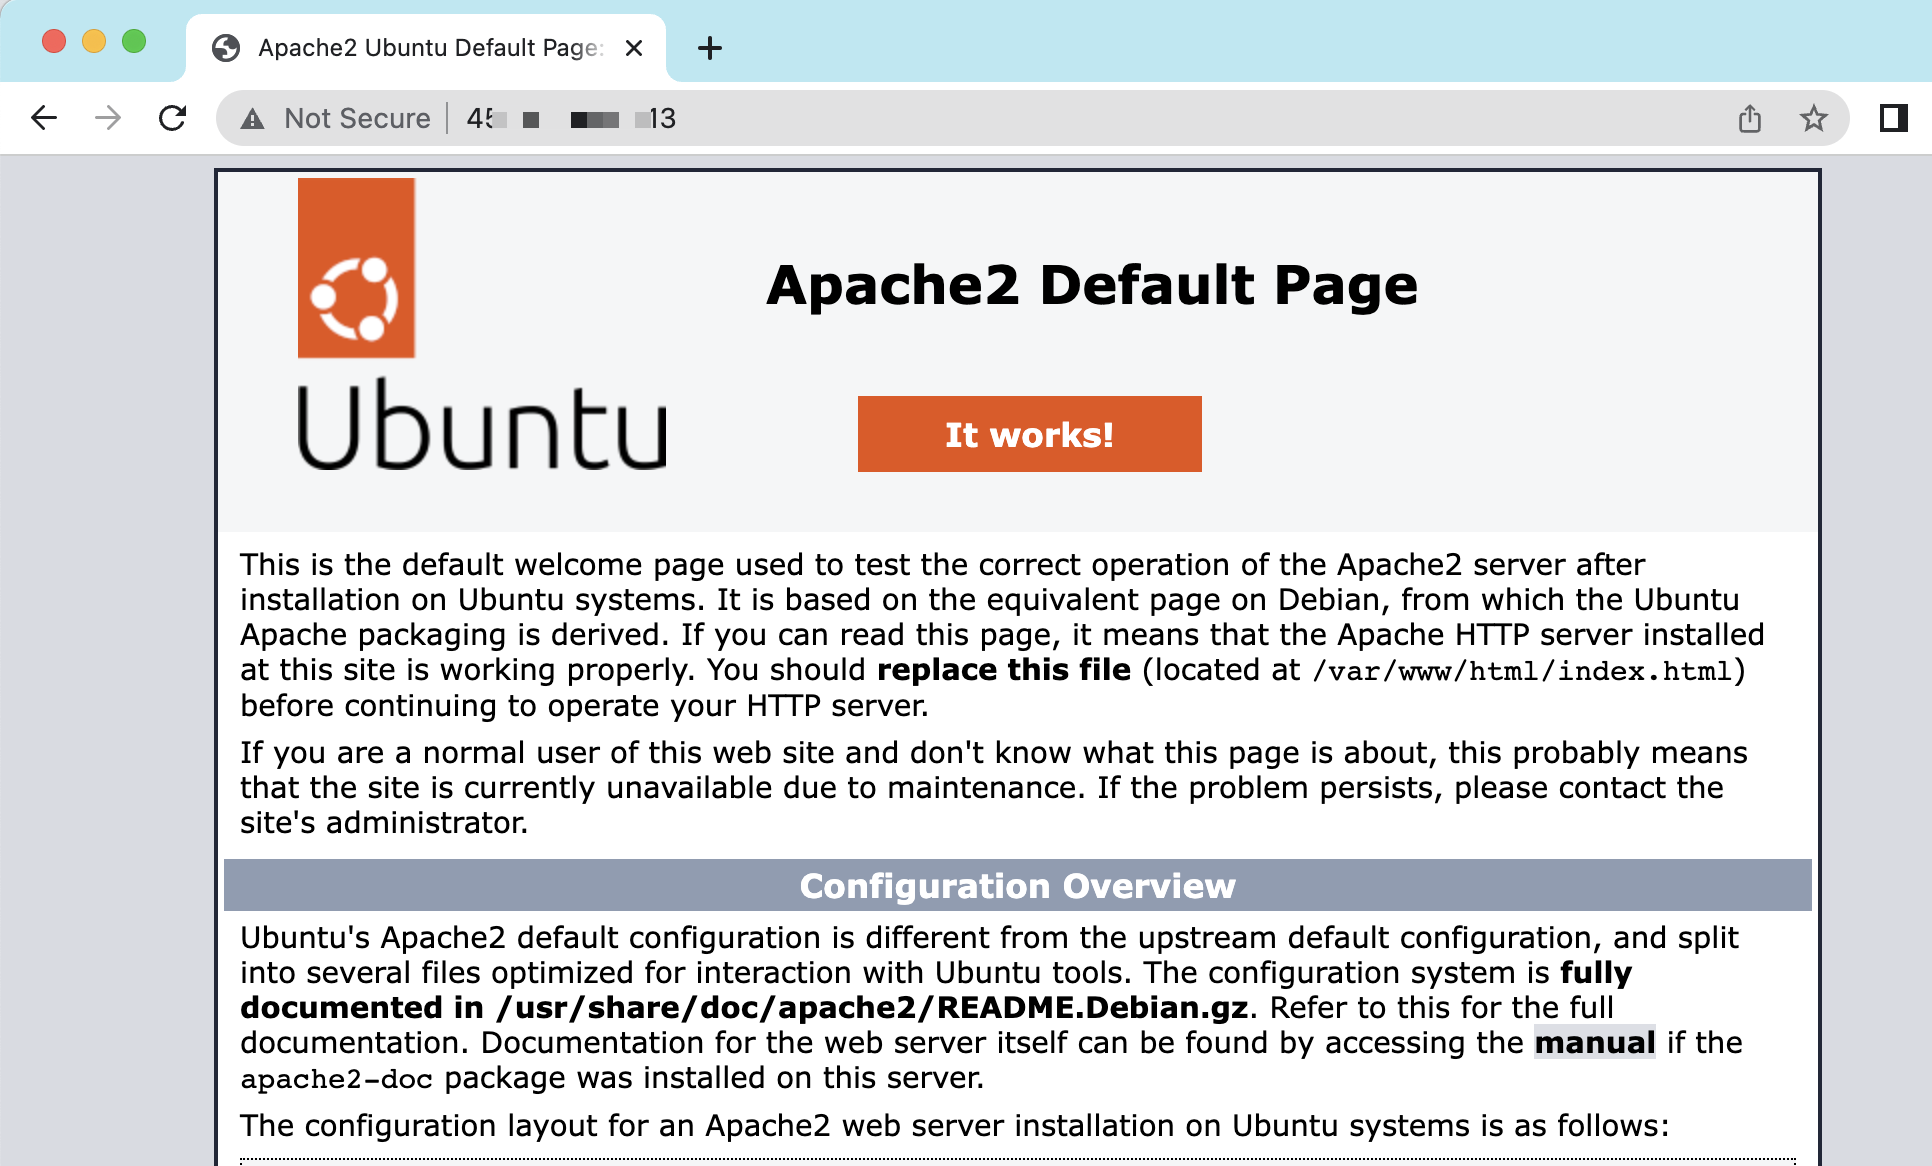
Bạn có thể kiểm tra hoạt động của Apache bằng cách truy cập IP máy chủ ra trình duyệt, nếu hiển thị như ảnh dưới là thành công.
Với iptables
sudo iptables -I INPUT -p tcp --dport 80 -j ACCEPT
Với Firewall UFW
sudo ufw allow 'Apache'
sudo chown www-data:www-data /var/www/html/ -R
Nếu kiểm tra trạng thái Apache bạn thấy hiển thị thông báo lỗi như bên dưới.
AH00558: apache2: Could not reliably determine the server's fully qualified domain name, using 127.0.0.1. Set the 'ServerName' directive globally to suppress this messageĐể xử lý bạn mở file servername.conf theo đường dẫn dưới đây
sudo nano /etc/apache2/apache2.conf
Và thêm đoạn bên dưới vào và Save lại.
ServerName 127.0.0.1Tiếp đó hãy tải lại dịch vụ Apache2.
systemctl reload apache2
sudo apt install -y mariadb-server mariadb-client
systemctl start mariadb      (Khởi động dịch vụ mariadb)
systemctl stop mariadb       (Dừng dịch vụ mariadb)
systemctl restart mariadb   (Khởi động lại  dịch vụ mariadb)
systemctl enable mariadb     (Thiết lập mariadb khởi động cùng hệ thống)
systemctl disable mariadb    (Vô hiệu hoá mariadb khởi động cùng hệ thống )
systemctl status mariadb     (Xem trạng thái dịch vụ mariadb)
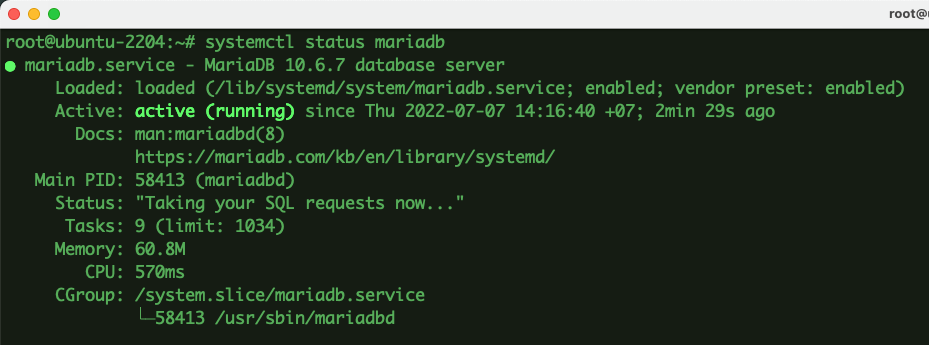
Bây các bạn sẽ cài đặt mật khẩu root cho Mariadb và thiết lập một số tùy chỉnh khác với lệnh
sudo mysql_secure_installation
root@LAMPSTACK:~# sudo mysql_secure_installation

NOTE: RUNNING ALL PARTS OF THIS SCRIPT IS RECOMMENDED FOR ALL MariaDB
      SERVERS IN PRODUCTION USE!  PLEASE READ EACH STEP CAREFULLY!

In order to log into MariaDB to secure it, we'll need the current
password for the root user. If you've just installed MariaDB, and
haven't set the root password yet, you should just press enter here.

Enter current password for root (enter for none):  Nhấn Enter
OK, successfully used password, moving on...

Setting the root password or using the unix_socket ensures that nobody
can log into the MariaDB root user without the proper authorisation.

You already have your root account protected, so you can safely answer 'n'.

Switch to unix_socket authentication [Y/n] n
 ... skipping.

You already have your root account protected, so you can safely answer 'n'.

Change the root password? [Y/n] Y             (Nhấn Y để tạo pass root mới)
New password:  Nhập passwd root
Re-enter new password: Nhập lại passwd root
Password updated successfully!
Reloading privilege tables..
 ... Success!


By default, a MariaDB installation has an anonymous user, allowing anyone
to log into MariaDB without having to have a user account created for
them.  This is intended only for testing, and to make the installation
go a bit smoother.  You should remove them before moving into a
production environment.

Remove anonymous users? [Y/n] Y
 ... Success!

Normally, root should only be allowed to connect from 'localhost'.  This
ensures that someone cannot guess at the root password from the network.

Disallow root login remotely? [Y/n] Y
 ... Success!

By default, MariaDB comes with a database named 'test' that anyone can
access.  This is also intended only for testing, and should be removed
before moving into a production environment.

Remove test database and access to it? [Y/n] Y
 - Dropping test database...
 ... Success!
 - Removing privileges on test database...
 ... Success!

Reloading the privilege tables will ensure that all changes made so far
will take effect immediately.

Reload privilege tables now? [Y/n] Y
 ... Success!

Cleaning up...

All done!  If you've completed all of the above steps, your MariaDB
installation should now be secure.

Thanks for using MariaDB!
mariadb --version

Tại thời điểm mình viết bài này, PHP 8.1 là phiên bản mới nhất của PHP , nó có hiệu suất cao vượt trội hơn các phiên bản tiền nhiệm. Do đó mình sẽ thực hiện cài đặt PHP 8.1 và một số modules PHP cần thiết.
sudo apt install -y software-properties-common
sudo add-apt-repository ppa:ondrej/php
sudo apt install -y php8.1 libapache2-mod-php8.1
sudo apt install -y php-net-ldap2 php-net-ldap3 php-imagick php8.1-common php8.1-gd php8.1-imap php8.1-mysql php8.1-curl php8.1-zip php8.1-xml php8.1-mbstring php8.1-bz2 php8.1-intl php8.1-gmp php8.1-redis
php -v

Để kiểm tra các PHP với máy chủ Apache, chúng ta cần tạo một info.php tại Document root của Apache với lệnh bên dưới.
sudo nano /var/www/html/info.php
Nhập nội dung bên dưới và save lại.
<?php

phpinfo();

?>
Tiếp đó bạn vào trình duyệt và truy cập theo đường dẫn: http://IP_Server/info.php để kiểm tra. Nếu hiển thị PHP như bên dưới là thành công.
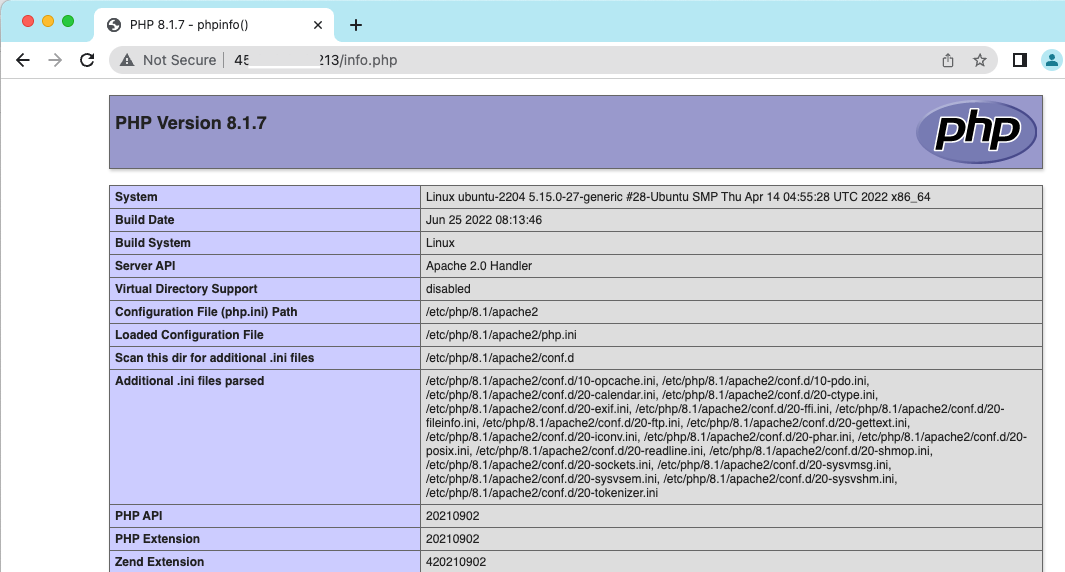
phpMyAdmin là ứng dụng dùng để quản lý cơ sở dữ liệu dưới dạng giao diện, thông qua phpMyAdmin sẽ giúp bạn quản lý các Database trực quan hơn. Để cài đặt bạn hãy thực hiện như sau:
sudo apt install -y phpmyadmin
Tiếp đến bạn chọn apache2 và nhấn Enter
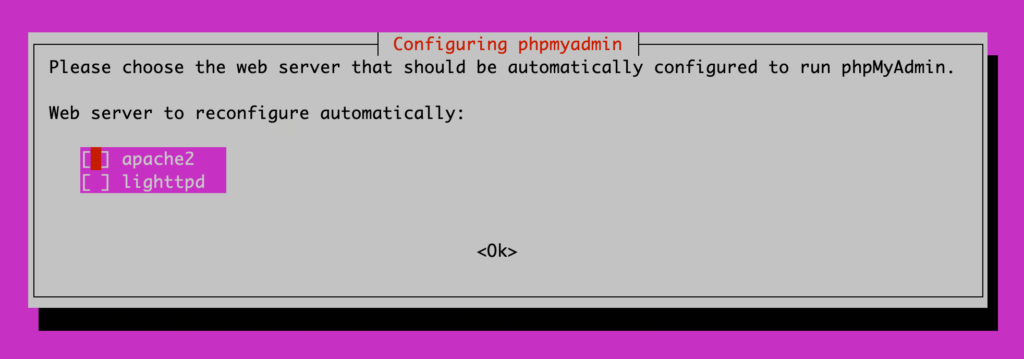
Tại giao diện tiếp theo, bạn chọn Yes để cấu hình cơ sở dữ liệu cho phpMyAdmin với dbconfig-common.

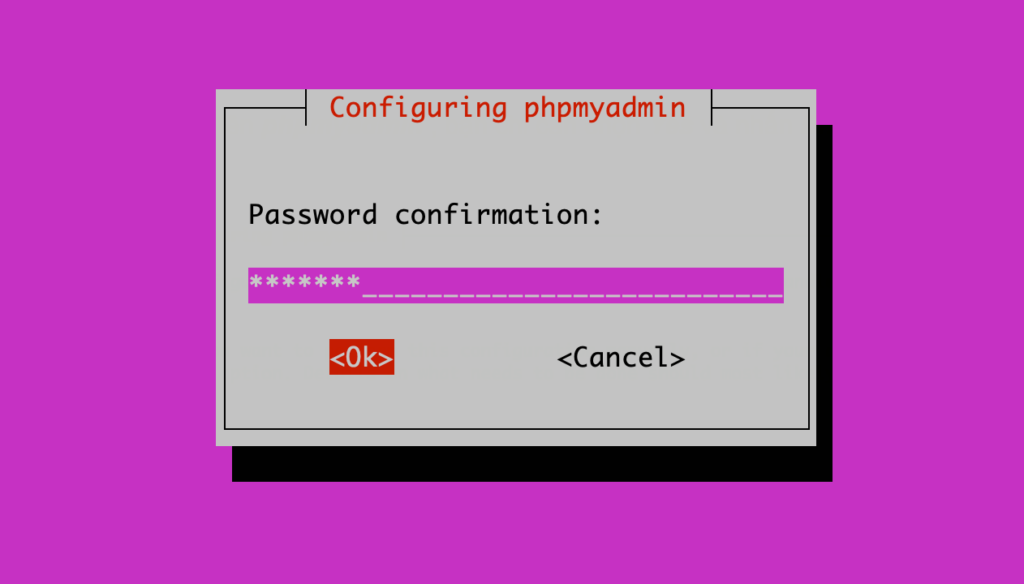
Bây giờ bạn tạo mật khẩu mới cho user phpmyadmin và nhấn nút Tab để chuyển sang OK và nhấn Enter.

Tiếp tục nhập lại mật khẩu và nhấn nút Tab để chuyển sang OK và nhấn Enter.
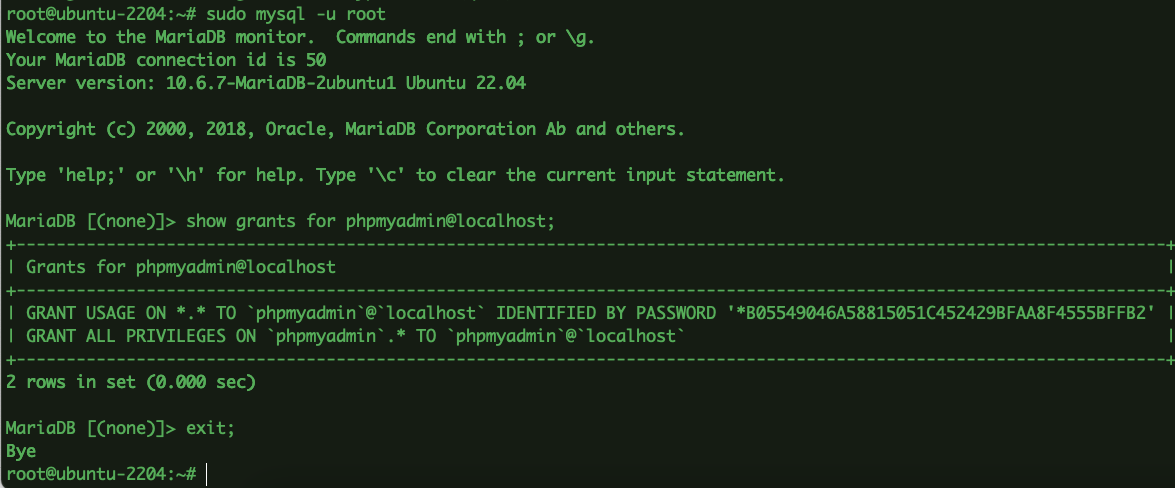
sudo mysql -u root
show grants for phpmyadmin@localhost;
exit;
Sau khi cài đặt phpMyAdmin, bạn cần cấu hình nó với Apache để có thể truy cập vào giao diện web.
sudo ln -s /etc/phpmyadmin/apache.conf /etc/apache2/conf-available/phpmyadmin.conf
sudo a2enconf phpmyadmin.conf
sudo systemctl reload apache2
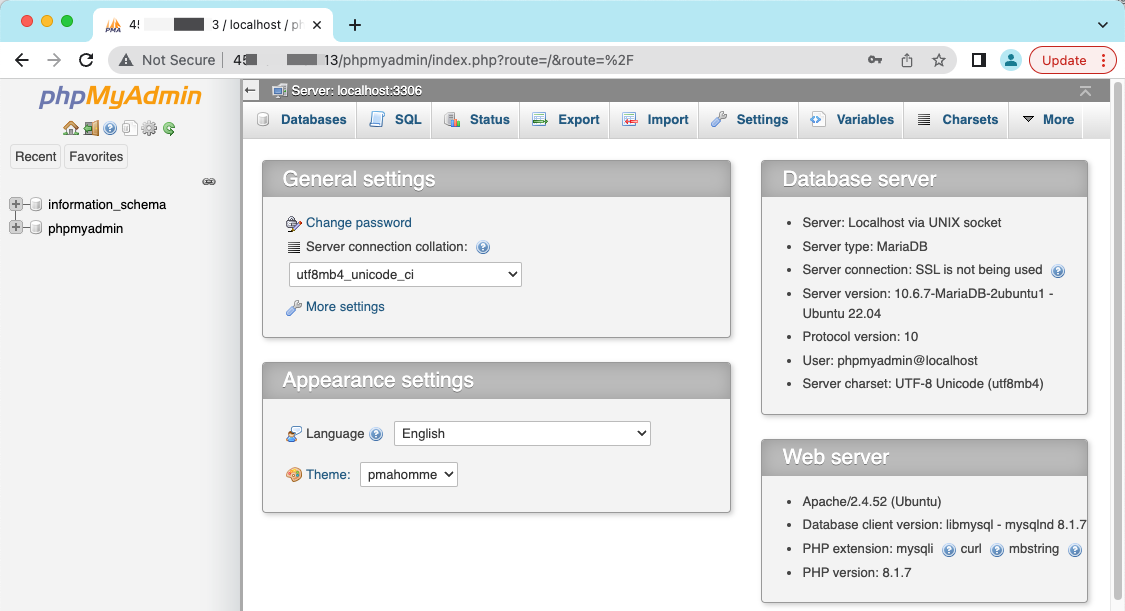
Sau khi cấu hình xong, các bạn vào trình duyệt và truy cập theo đường dẫn http://IP_Server/phpmyadmin để truy cập phpMyAdmin. Nếu thành công, giao diện sẽ như bên dưới.
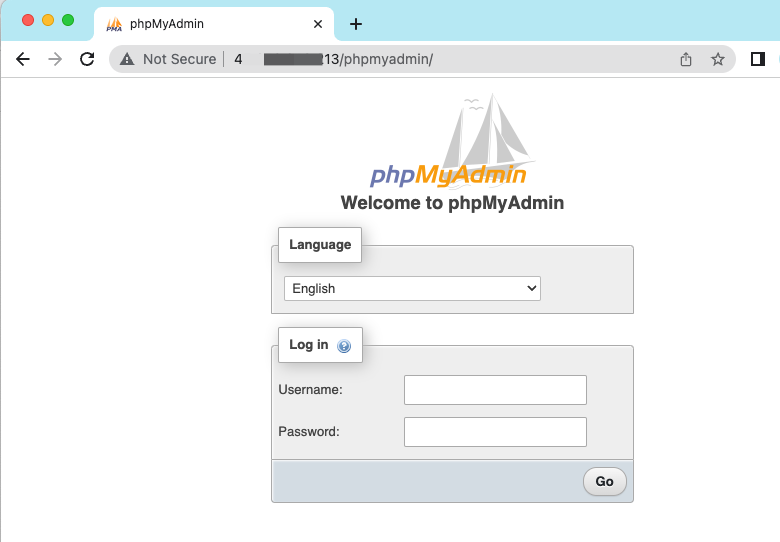
Và các bạn sẽ sử dụng thông tin user là phpmyadmin, và Password thì sử dụng pass ở phần Cài đặt phpMyAdmin bên trên.
Như vậy mình đã hướng dẫn các bạn cài đặt LAMP Stack trên Ubuntu 22.04 hoàn tất. Hy vọng bài viết sẽ giúp ích cho các bạn.
Chúc các bạn thực hiện thành công.!
Chào mọi người, mình là Kiên – hiện đang công tác tại Phòng Kỹ thuật AZDIGI. Trong quá trình làm việc mình có cơ hội được tiếp xúc với khá nhiều các vấn đề liên quan đến Website/Hosting/VPS/Server, do đó mình viết lại các hướng dẫn này nhằm chia sẻ kiến thức, cũng như tạo một môi trường để chúng ta giao lưu và học hỏi lẫn nhau.


2026 - Website được phát triển nội dung bởi Đàm Trung Kiên
Hãy để lại thông tin của bạn. Đội ngũ chuyên gia của chúng tôi sẽ trực tiếp phân tích nhu cầu và tư vấn giải pháp công nghệ phù hợp, tối ưu hiệu quả cho công việc của bạn hoàn toàn miễn phí.
Tìm kiếm bài viết...